An introduction to nutritiously diverse sourdough chapatis
Learning Objective
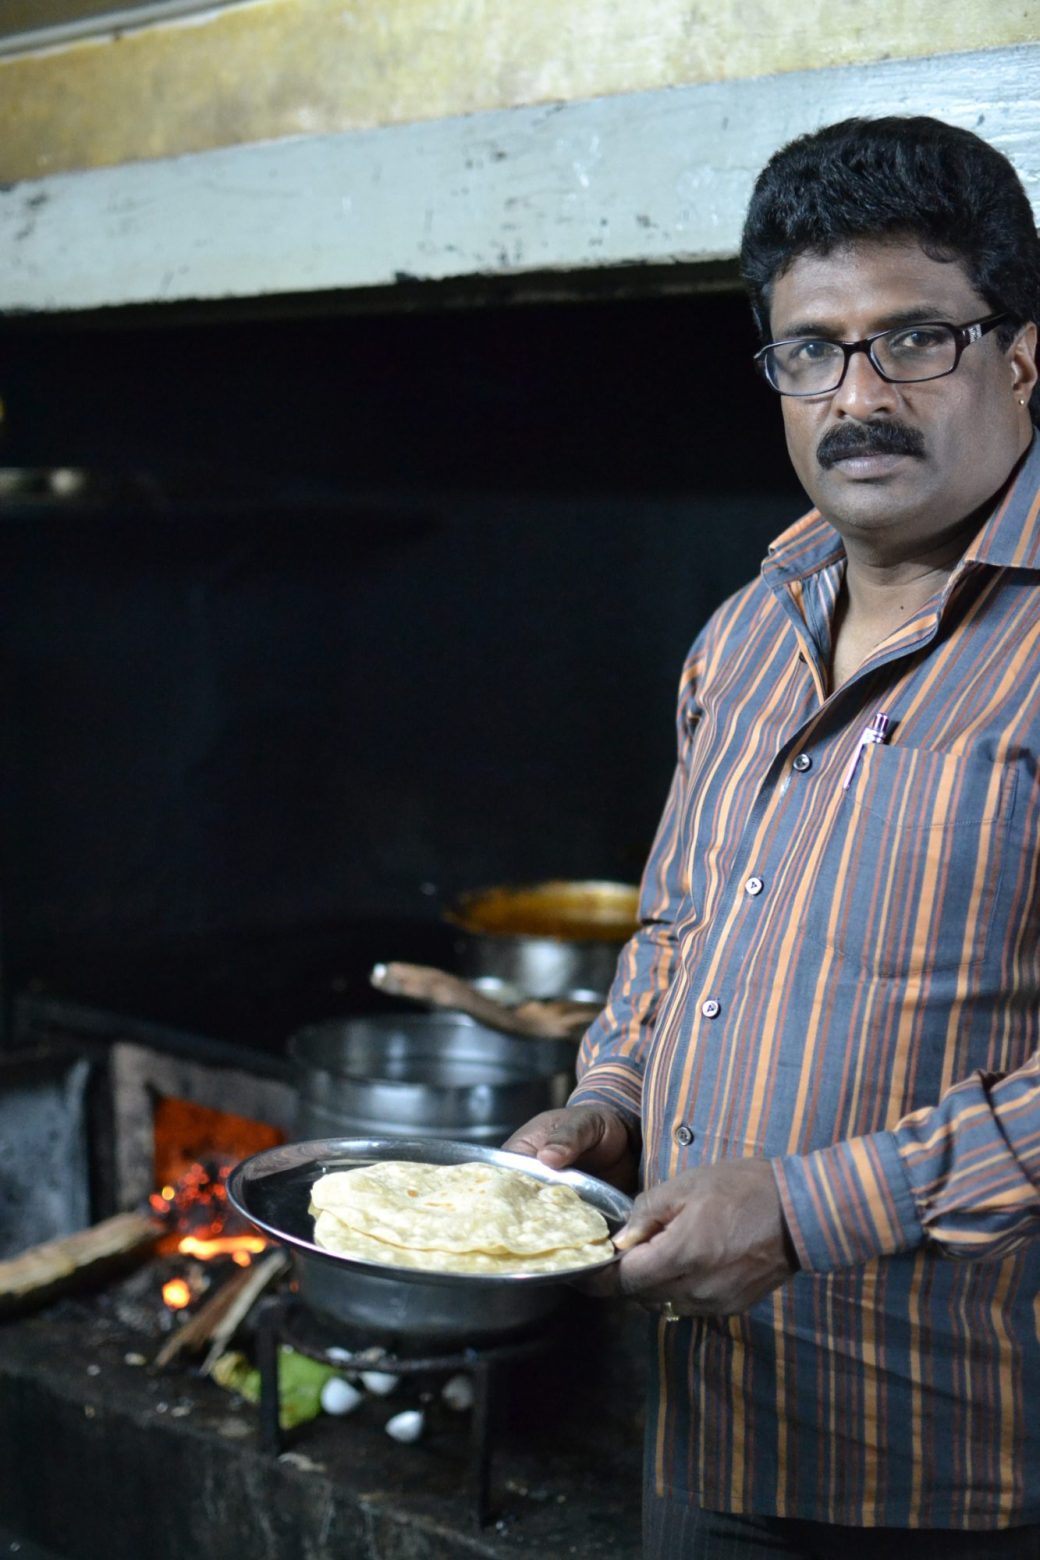
I first learned to make these in Leicester when I was at university, but I really connected to them in India in 2014 on a trip to a tea plantation. They are inexpensive, easy to make, and wonderfully simple; they are the staples of everyday meals, especially in the warmth of Southern Indian kitchens.
So, by using a botanical blend, I am taking chapattis to a new level. Imagine infusing the dough with the subtle yet aromatic hints of cardamom and cinnamon, transforming these humble flatbreads into a fragrant delight that teases the palate while feeding the gut microbiome. By weaving in a diversity of whole grains and employing a touch of sourdough magic for natural fermentation, we enhance our chapattis' nutritional value and digestibility. It's about making each ingredient count, not just for its flavour but for its role in our overall well-being.
Makes: | 12 Chapatis |
---|---|
Level: | Beginner |
Created Over: | 2 days |
Kind of Bake: | Ambient overnight – 10-minute style – mixed in the evening and baked in the morning |
Gut Factor: | Red lentil dal |
Diversity Score: | 14 |
---|---|
Suggested Botanical Blend: | Meadow Blend No 2 |
Probiotic: | Ghee |
Recommended For: |
|
India 2014
I was travelling with another journalist, a British Indian, and I remember feeling uncomfortable with her attitude towards the people in poverty, the generosity, and, I suppose, the traditions. Much of it was expressed as fear of food poisoning, but she expressed disdain for poverty, and I remember her wearing a pair of Louboutin shoes, which seems so wrong as the tea pickers whose offer of lunch she refused were barefooted. It was her loss.
I was so amazed at the generosity I braced myself for an upset tummy, but it never came. I figured that if the food was hot and straight off the oven—and fresh, and it was a busy restaurant or food store, then I would be safe. So, I ate with the locals, and whatever they offered me, I accepted humbly and with gratitude.
So, this chapati recipe was really something I wasn’t expecting to find. I was curious, and when some street vendors in the local town invited me to the back of the restaurant, I was thrilled. Yes, I will admit that by perhaps British standards, it was a makeshift kitchen in a shack, and there was no anti-bacterial spray. But I didn’t care one jot because, my goodness, they made the most phenomenal, delicious, light, and hot chapatis with a simple, spiced, fragrant dal. It was good—so good that a decade later, I'm still thinking about it and wondering if my recipe will even come close to the textures, fragrance, and feeling of discovering something beautiful, simple, wholesome, and nourishing.
My only slight concern, I’ll be really honest, was that in many parts of India and the back of this lovely traditional restaurant where they took the time to share their recipe, I was seeing the traditional atta flour being replaced by white roller-milled flour, and in that was a loss of flavour, nourishment, and tradition. It's something I hope that Indian people will protect and understand, and it is precious on every level, not just for microbial health but for the sake of not losing the traditions that have been passed down for hundreds of years.
And there we are—my simple version with a botanical twist.
So, enjoy, share, and be generous. Make more, invite your friends, and give them to your neighbours. It’s really worth it—making bread is all about community, sharing and enhancing life together.
Tip: Atta, is traditionally used and stone ground. It retains the whole grain, including the bran and germ, ensuring each chapatti is rich in fibre, vitamins, and minerals. This whole process adds to the health benefits and the depth of flavours, which are notably absent in bread made from refined white flour.
My tips for anyone who doesn’t or can’t use their own flour: don't worry. Add a small pinch of freshly ground cardamom for that wonderful fragrance, a little nutmeg, and a small pinch of cinnamon and some cumin seeds. Just those four spices alone will balance themselves together. It doesn’t have to be too much; it doesn't want to be flavoured; it’s about small amounts, and even a tiny amount will still bring a level of diversity.
Tava: A tava is a flat, disc-shaped frying pan typically made from cast iron or aluminium, commonly used in Indian cooking to make flatbreads. If you don’t have a tava, a heavy non-stick skillet or crepe pan can be a good substitute.
Equipment
- Mockmill
- Medium mixing bowl
- Large mixing bowl
- Small bowl
- Chopping board and knife
- Heavy Skillet
- Clean tea towel or shower cap
- Dough scraper
- 2 trays
Tin Size
- No Tin
Suggested Starter
Wholemeal
Status of Starter
bubbly, lively first-build starter
Hydration
54%
DDT
26°C (79°F)
Flours
For The Dough
- 250g Botanical Blend No. 2 or stoneground wholegrain flour
- 250g Marriage's Organic Strong White Flour
- 10g Fine sea salt
- Approximately 290g water (adjust as needed) 27°C/80°F for a DDT of 25°C/77°F)
- 10g Lively, bubbly first- or second-build wholemeal sourdough starter
- Ghee (clarified butter) for cooking and greasing
Baking Time
30 seconds each side.
Preheat Oven To
This recipe does not use an oven
Bake At
This recipe does not use an oven
Tutorials
Total Active Time: 28 minutes
Step | Timings | Active Time (min) |
---|---|---|
Refresh starter (first build). | Day 1, morning 8am | 2 |
Mix dough and knead. | Day 1, evening 8pm | 3 |
Divide dough into 12 pieces and leave to rest for 30 minutes. | Day 1, 8:20pm | 3 |
Cover and leave overnight. | Day 1, 8.30pm | 1 |
Place on an oiled tray, cover and leave for 2 hours in the fridge. | Day 2, 8am | 1 |
Remove from fridge 10 minuets before shaping. | Day 2, 12.30am | 1 |
Preheat skillet - Flatten with your hands and a rolling pin and little oil. | Day 2, 12.40pm | 5 |
Bake. | Day 2, 12.40pm | 12 |
Total Active Time | 28 |
Guidance, tips & techniques
Day 1:
- 12 PM - Refresh your wholemeal sourdough starter.
- 8 PM—In a large mixing bowl, combine the flour, refreshed starter, warm water, and salt. Mix until well incorporated.
- Knead the dough on a lightly floured surface until it becomes soft and elastic, about 10 minutes.
- Place the dough in a greased bowl, covering it with a shower cap or damp tea towel. Let it rest at room temperature overnight.
Day 2:
- Divide the dough into 70g portions, rolling each into a smooth ball.
- Cover and let these balls proof for a few hours until slightly puffed.
Cooking:
- Preheat your tava or skillet over medium-high heat.
- Roll out each ball into a thin circle, about 2-3 mm thick. Lightly brush one side with ghee.
- Place the chapatti ghee-side down on the tava, and brush the top side with ghee as well.
- Cook for about 30 seconds, or until bubbles form. Flip and cook the other side for another 30 seconds. Press lightly with a cloth to encourage even cooking and puffing.
- Flip again if necessary, until each side is golden with some darker brown spots.
Texture and Appearance:
- The chapattis should be soft and pliable, with a slightly flaky texture. They should have a light golden brown colour with darker speckles.
Serve the chapattis warm with dal. They pair wonderfully with both creamy and spicy dal variations.
How to Store
Chapattis can be stored in an airtight container at room temperature for a day or refrigerated for up to 3 days. Reheat them on a tava, microwave or oven before serving.
![](https://thesourdoughschool.com/wp-content/uploads/2024/05/DSC_0129-e1715636643626-330x495.jpg)
![](https://thesourdoughschool.com/wp-content/uploads/2024/05/DSC_0132-e1715636679338-330x495.jpg)
![](https://thesourdoughschool.com/wp-content/uploads/2024/05/DSC_0112-e1715636718109-330x495.jpg)
![](https://thesourdoughschool.com/wp-content/uploads/2024/05/DSC_0667-e1715637845677-330x495.jpg)
![](https://thesourdoughschool.com/wp-content/uploads/2024/05/DSC_0665-e1715637819523-330x495.jpg)
![](https://thesourdoughschool.com/wp-content/uploads/2024/05/DSC_0661-e1715637794954-330x495.jpg)