| Makes: | 2 foccacia |
|---|---|
| Level: | Beginner |
| Created Over: | Mix and bake immediately |
| Kind of Bake: | Ambient day – French style – mixed in the morning and baked in the evening |
| Diversity Score: | 10 |
|---|
Introduction
This is one of two recipes we have been working on with Ryan Riley from Life Kitchen. Our second is a sweet Blackberry, Fennel & Pistachio focaccia. They are both simple sourdough focaccia recipes developed specifically for people living with cancer. Cancer can be a very difficult time and one of the little talked about side effects of treatment is the altered sense of taste that a lot of people experience.
This recipe is packed full of umami flavours and is fermented to make it more nutritious and easier on the digestive system.
Flavour
Life Kitchen's and Ryan’s recipes are backed by science, and advised on taste and flavour by Professor Barry Smith of the University of London, who leads the Centre for the Study of the Senses.
When we eat slightly more astringent food (slightly acidic or bitter) such as the ones used in the topping of this focaccia, the proteins combine with our saliva to irritate our trigeminal nerve - this is the very same nerve that registers sensations such as mintiness as “cooling” or spiciness as “hot”.
This technique works particularly well with sourdough because one of the typical characteristics of sourdough is the wonderfully chewy texture - so it requires a good amount of chewing! The more we “chew” something astringent the better our taste receptors can detect the astringency.
Ryan has deliberately “over-saturated” the trigeminal nerves with his amazing flavour combinations by using umami - our 5th taste. This works as a stepping-stone to all the other taste receptors - sweet, salty, bitter and sour. Umami is the savouriness we recognise in miso, soy sauce, and mushrooms for example. When we combine different types of umami we create something Life Kitchen like to call ‘super umami’ - the ultimate depth of flavour.
Nutrition & Digestibility
Rye
I have chosen to blend a white bread flour with rye flour. The fermentation process makes the Rye easier to digest which is important for anyone who might be struggling with digestive issues again as a result of treatment. Rye is one of the most flavoursome flours you can use and one of the most nutritious grains you can include in your diet.
Olive oil
Olive oil has been shown to have anti-cancer properties. In one particular study, the researchers concluded that the phenols in extra virgin olive oil have the ability to cause degradation of the HER2 protein on breast cancer cells.
Equipment
- 2x round tins – ours were 22cm across and 4cm deep
- Greaseproof paper
- Large mixing bowl
- Clean damp tea towel
- Fork
- Medium mixing bowl
- Wire rack
Tin Size
- 22cm round cake tin (4cm deep) OR 8 x 2 inch round cake pan (USA)
Suggested Starter
White
Status of Starter
bubbly, lively first-build starter
Hydration
73%
DDT
26°C (79°F)
Flours
To Ferment Your Dough
For The Dough
- 100g of refreshed starter
- 400g strong white bread flour
- 100g rye flour
- 325g water at 28C (plus a reserved 25g of water if needed, see method)
- 4g salt
- 10ml mix of water with 5g of olive oil
- FOR THE TOPPINGS
- 2 tablespoons of red or dark miso
- 2 tablespoons runny honey or maple syrup if you prefer
- 2 tablespoons olive oil
- 3 sprigs rosemary leaves – stripped
- 1 punnet wild mushrooms - about 250g - sliced
- 200g feta cut into cubes
- SERVING SUGGESTION (optional)
- 1 red onion
- 1 cup of live red wine vinegar or apple cider vinegar
- 1 heaped tablespoon of soft brown sugar
- Salt to taste
Baking Time
20-25 minutes
Bake At
180°C/160°C fan/350°F/gas mark 4
Tutorials
| Step | Timings |
|---|---|
| Refresh your sourdough starter | Day 1 8am |
| Mix dough ingredients | Day 1 9pm |
| Leave to rest | Day 1 9.15pm |
| Prepare tins | Day 1 9.15pm |
| Add extra water if needed | Day 1 9.20pm |
| Divide dough into two | Day 1 9.30pm |
| Dimple the dough in tins | Day 1 9.35pm |
| Cover & leave overnight | Day 1 9.40pm |
| Preheat the oven to 200 C / 392 F | Day 2 8am |
| Make the topping | Day 2 8.30am |
| Add the toppings | Day 2 8.35am |
| Leave to sit for 20 mins | Day 2 8.40am |
| Turn oven down to 180C/350F. Bake for about 20 - 25 mins | Day 2 9am |
| Remove from oven cool on wire rack | Day 2 9.25am |
Guidance, tips & techniques
 Method
The timings of this method are based on a normal working day. Although it might look challenging at first, it is actually easier than you think and involves about 15 -30 minutes work over two days.
If you are making sourdough for the first time and you do not have a starter you can buy one. Or you can start your own sourdough starter, or maybe even ask a sourdough baker to give you some of theirs. We are usually pretty good at sharing and we usually like to give you a few tips with our starters.
Please note: all flours behave differently. If you use different flour brands than the ones in this recipe then the crumb structure may differ slightly. If the rye is more fibrous, or the white bread flour contains more than 12% protein the crumb will be tighter than ours. If this is the case then you might need to add more water in addition to the total water in the recipe, to accommodate the differences. Try with 10-20 g more water next time you bake as this will make the crumb structure more open. If your dough at any point feels too wet just leave it to sit for half an hour, go and make a cup of tea and allow the water to fully absorb.
Day 1
- 8 am – refresh your sourdough starter – tip use cooler water when the ambient temperature is warm
- 9 pm – add the starter, the flour, salt, 325g of water and mix your dough. Leave covered for 15 minutes to rest.
- 9.15 pm – grease and line two tins with greaseproof paper and drizzle olive oil across the paper
- 9.20 pm – if the dough seems a little dry add the extra 25g of water – do give the dough time to absorb the water slowly.
- 9.30 pm – with a little oil on your hands divide the dough. Gently push each piece of dough to fit into each tin, dimple the dough with your fingertips. Sprinkle over the dough with a 10ml drizzle of water & olive oil. This will help stop the top drying out overnight.
- 9.40 pm – cover the dough – remember to account for the fact it will rise, and leave on the side or kitchen table until morning.
Day 2
- 8 am – preheat the oven to 200 C / 392 F
- 8.30 am – tip all the topping ingredients into a bowl and mix well
- 8.35 am – next lightly press the topping into the dough, drizzle with a little more olive oil around the sides of the tin (about 2 tablespoons or so.)
- 8.40 am – leave the focaccia to sit for 20 minutes before popping it into the oven – this helps the gluten to recover and you will get a better crumb structure
- 9 am – drop the oven down to 180 C / 356 F then bake for about 20 – 25 minutes. Remember to check the bread a few minutes before this time as everyone’s oven is different. If your mushrooms have more moisture than mine you might need to bake for a few minutes longer.
When the bread is browned on top but still retains its bounce, open the oven door and leave it to sit for a few minutes then remove from the oven. Leave to cool for a few minutes in the tin and then transfer onto a wire rack before enjoying plentifully!
Tips & Storage
The dough will have olive oil in it so we recommend storing it on something such as a plate with a paper bag around it so that you won’t stain a cloth with oil.
Notes
Please remember that all flour behaves differently, so one rye flour, for example, can require as much as 10g – 20g more or less water than another.
Serving suggestion
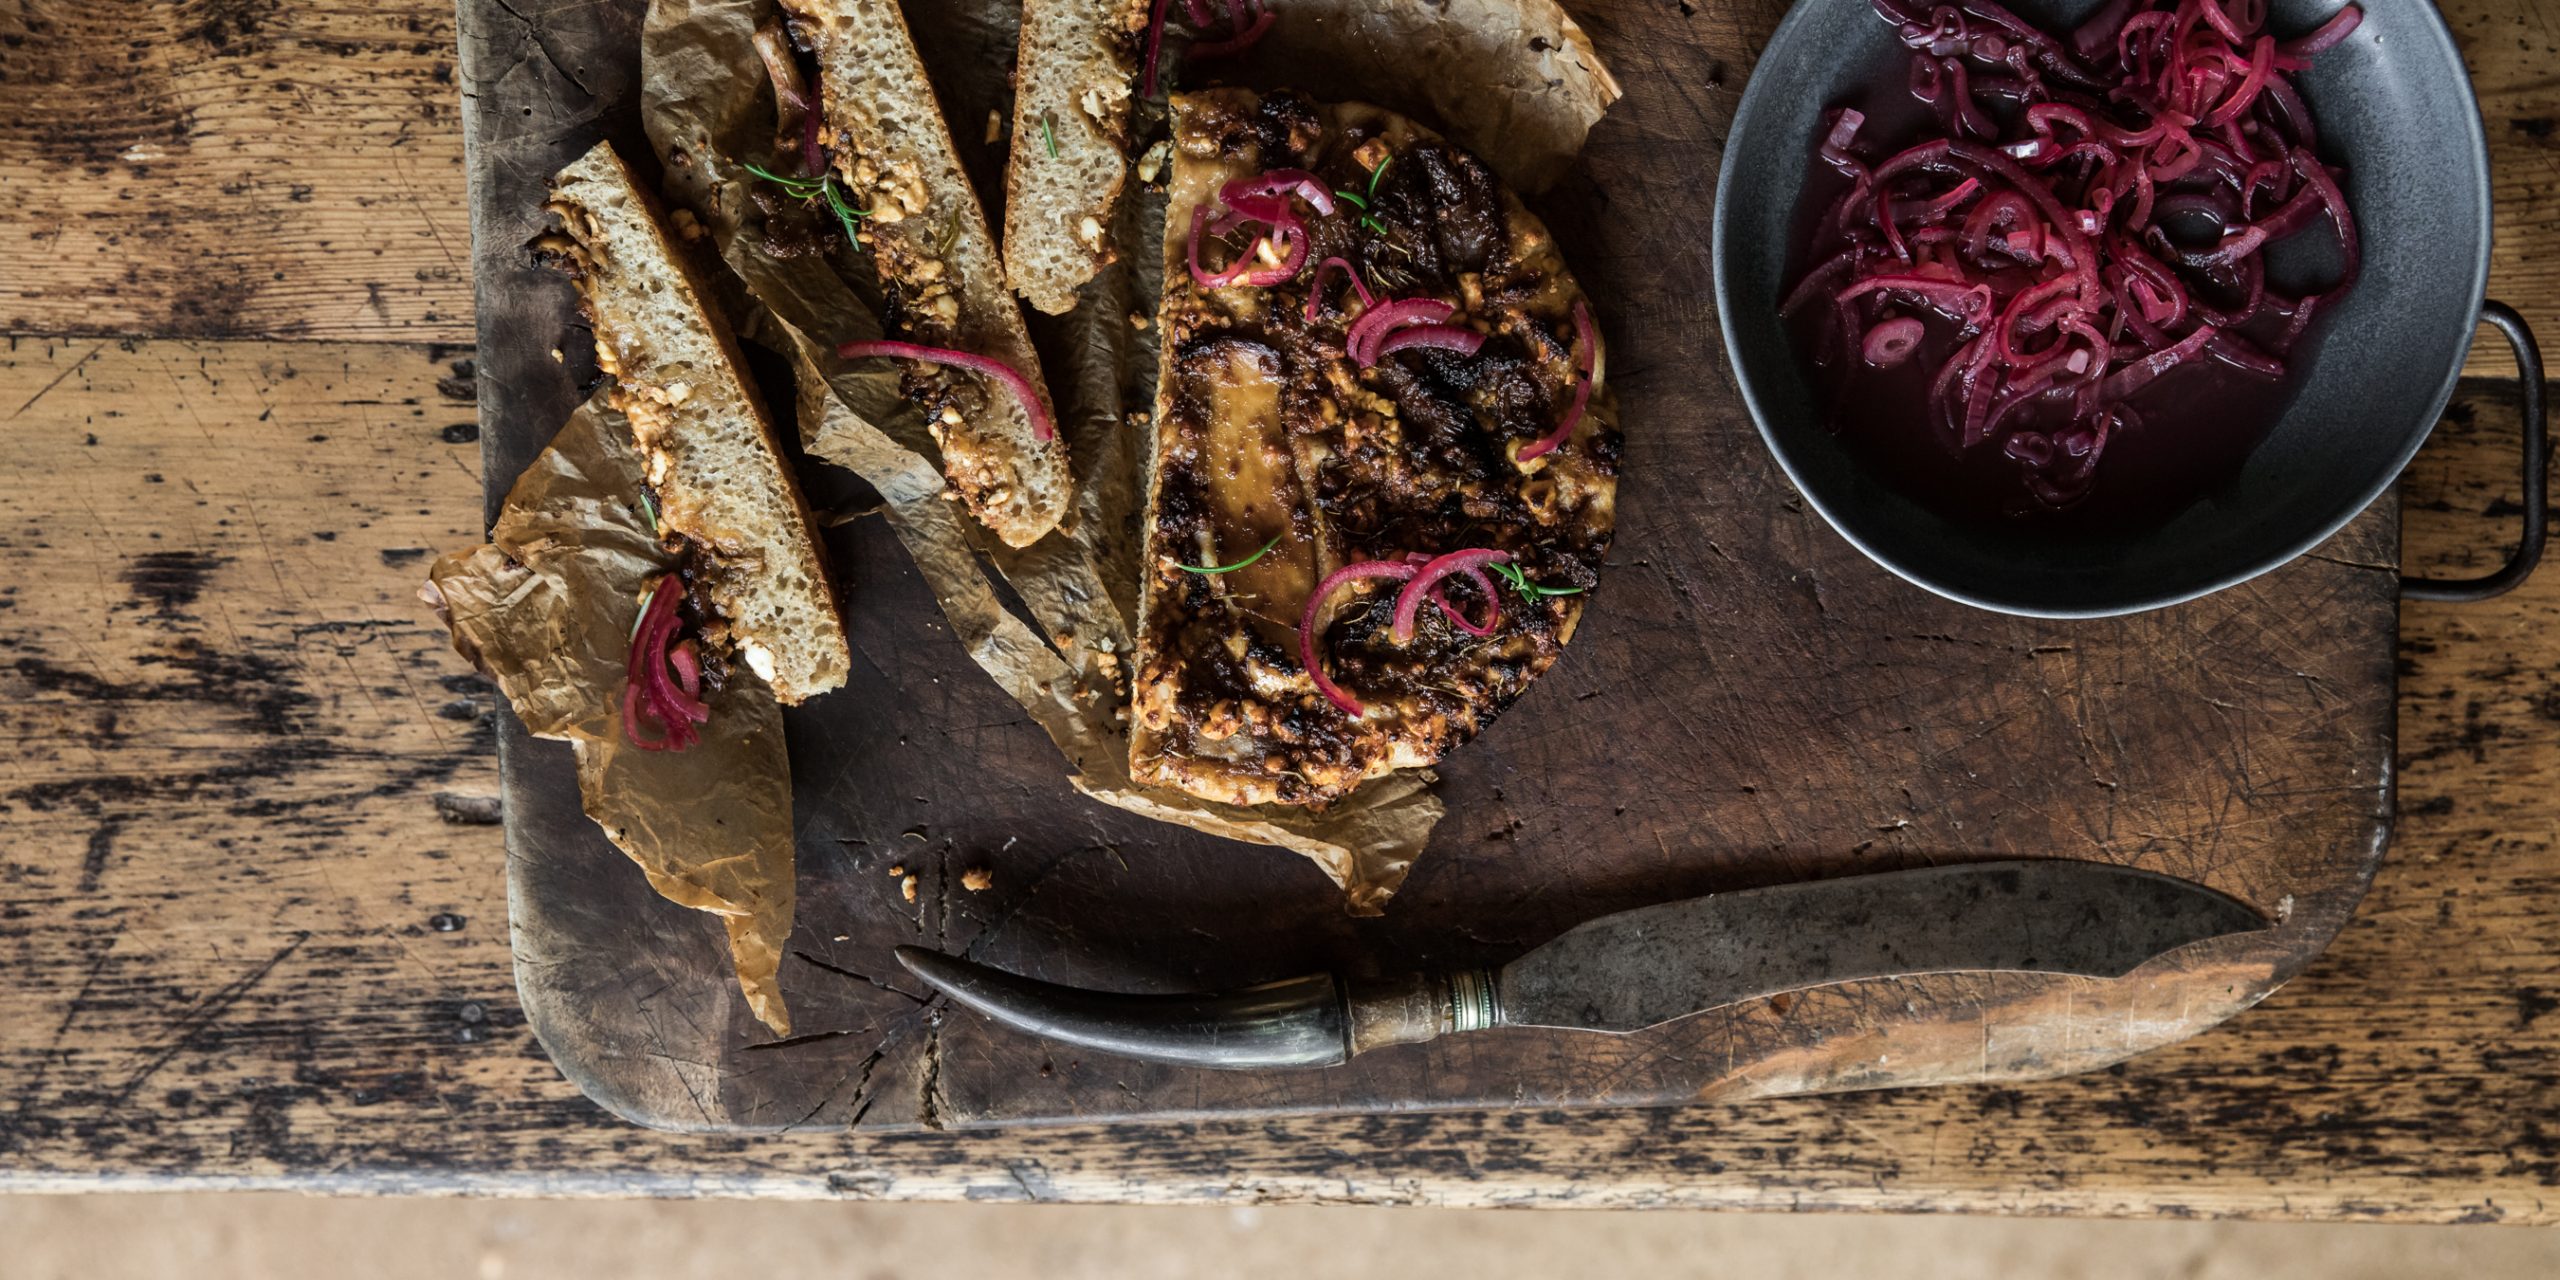
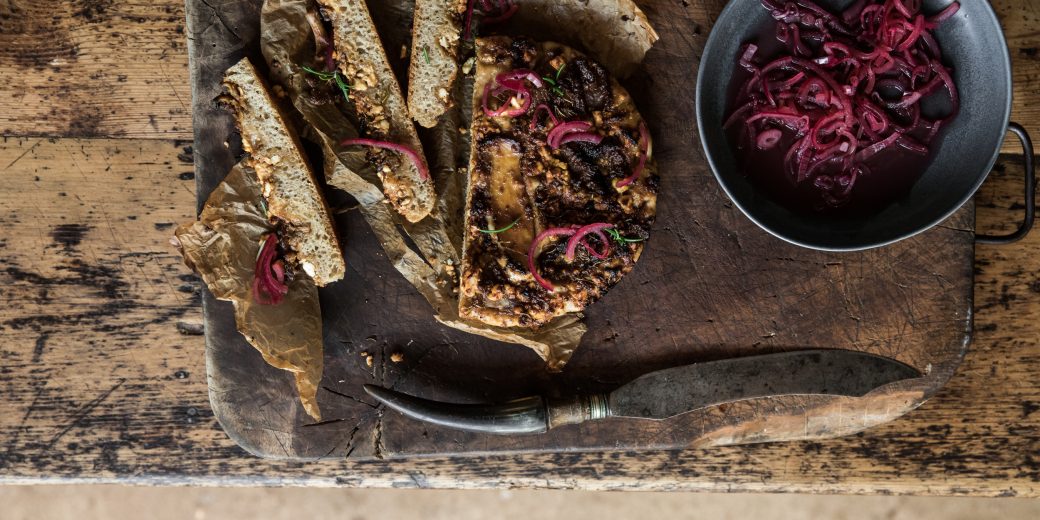
We served ours sprinkled with sliced and pickled red onions. To pickle the onions, chop up a red onion & leave for a few days to soften in a cup of live red wine or apple cider vinegar with a heaped tablespoon of soft brown sugar and season with salt. Pickling onions in live vinegar means that they are then both a pro and prebiotic, with live bacteria from the vinegar and inulin for the onions.
For a quick method heat the sliced red onion gently with the vinegar and sugar, for 5 – 10 minutes. Leave to cool, season with salt and store in the fridge in an airtight jar.
Buy a Focaccia bread baking kit here.


